How to Update WordPress Automatically and Manually?
When your WordPress website has started running, you should take steps to maintain it frequently. It is what will keep it running smoothly. It’s exactly here that updating your site becomes imperative. Ignoring the update can result in site malfunction or even a breakdown. To prevent all such problems, you must know how to update WordPress. Updating acts as a preventive measure that results in the successful functioning of your site. There are four significant ways to update your site. In this article, you’ll find detailed instructions on how to update your WordPress website through these methods safely.
Why Update WordPress?
- An update allows your site to be enhanced with the newest functionalities and bug fixes. In the absence of an update, your site won’t perform as smoothly. So, people will be less likely to engage with it. Below are some significant benefits of updating WordPress.
- Greater security – Prior WordPress versions are prone to encountering security vulnerabilities. When you implement security updates, you can prevent hackers from accessing confidential data.
- Better speed – A new WordPress version can boost the site speed. As your site becomes more responsive, it will encourage people to spend more time on it.
- Compatibility – The WordPress update will make your website compatible with themes and plugins. So, you’ll not have any issues installing other features to boost your site’s functionality.
Things to Know Before You Update WordPress
Before you update to the current version of WordPress, you need to take certain steps. These steps will ensure that you do not become victim to any mishap. Also, keep in mind that updates will affect your website files and database.
- Go through and understand the update notice – It’s important to determine what the latest update offers via the WordPress changelog. The update can provide you with security patches or new functionalities.
- See the support forums – You must also go through what others are saying about the current WordPress version. By going through the support forums, you’ll find out whether the update contains any glitches or not. You can then decide if you want to really update or wait for some time. However, it will be best to give importance to security updates.
- Make WordPress backup – WordPress backups prevent data loss. They also serve as a fallback option in case an issue occurs as you are updating or modifying your website.
- Disable caching – Caching plugins won’t identify whether a WordPress installation is in progress. As a result, they can hinder this process. So, it’s better to delete the WordPress cache and disable caching plugins.
- Deactivate all plugins – Many WordPress updates are not supported by specific plugins. As a result, your website can become inaccessible. So, to install the update, deactivate any extensions and add-ons.
- Update PHP version – You should update your site’s PHP version if it’s incompatible with the update.
Four Methods to Update WordPress
You can easily update your WordPress through various methods. These methods will enable you to update your WP site automatically and manually.
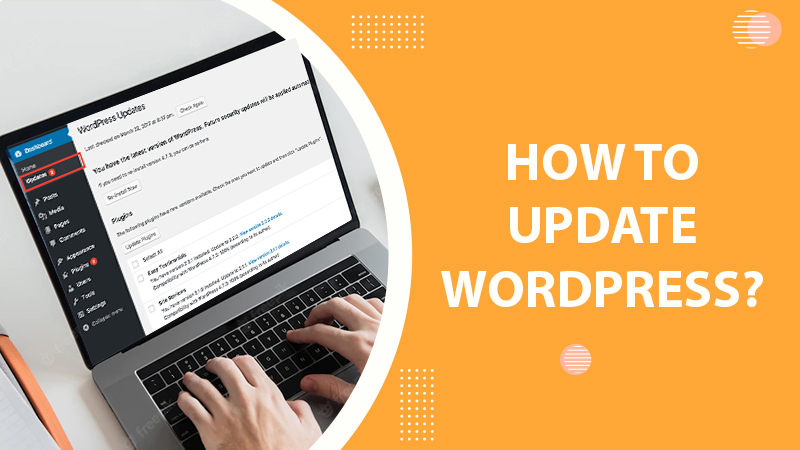
1. Updating WordPress from the dashboard.
It’s the simplest method to upgrade your site to the recent WordPress version. To know how to update WordPress from the dashboard, follow these easy steps.
- Just Login to your WP admin dashboard.
- After that, see if there’s a fresh WordPress release at the top part of the page of the WP admin dashboard.
- Now tap ‘Please update now‘ to commence the website update process.
- You’ll notice the ‘Updates‘ page opening. Here hit the ‘Update Now‘ button.
- For minor updates, you’ll notice the success message appearing. It will appear with the plugin and theme update option.
- You will also notice a welcome screen. It will have a complete summary of all that has been updated for more significant releases.
- You can update the themes and plugins, so they become compatible with the recent WordPress version.
2. Updating WordPress from WP-CLI.
WP-CLI is a tool that streamlines WordPress administrative tasks. A crucial administrative task is managing the main code that constitutes WordPress. It is this that WP-CLI makes so simple. If you want to know how to update WordPress from the command line with WP-CLI, you may have SSH access to your WP root directory. When you have configured everything, follow the steps below to update your website.
- After accessing your SSH account, use the cd command to change to your WP root directory. Use the following code line: cd public_html.
- For listing your directory contents, input the ‘Is’ command. Alternatively, you can also input ‘cd ~‘ to modify the directory to home.
- Input the command below to see if the current WordPress version is ready for an update.
- wp core check~update
- If there’s another WordPress version available, you’ll view a similar message.
- But if there aren’t any updates, you’ll see the following message.
- ‘Success: WordPress is at the latest version.’
- To begin the update, run this line.
- wp core update
- Wait for some time till the whole process ends. Your WP website will get automatically updated.
- After updating the core files, you can also update your database. To update it, run these commands. It will update WordPress themes and plugins.
- wp core update-DB
- wp theme update – – all
- wordpress plugin update – – all
- When the application ends the update process, run the previous commands again to check whether everything is correctly updated.
3. Updating WordPress automatically.
The WordPress platform will update your site by default. You can enable automatic updates for significant releases depending on your web host. You can automatically update your site through a plugin like Easy Updates Manager. Alternatively, you can enable automatic updates by adding a code line in the wp-config.php file. Follow these steps to do it.
- Sign in to the CPanel.
- Navigate to ‘File Manager.’ It is present below the ‘Files’ section.
- When you’ve landed at the ‘public_html‘ folder, go down and choose the ‘wp-config.php.’
- Hit the ‘Edit‘ button. It is at the top menu.
- Now, add or modify the line below.
‘define ( ‘WP_AUTO_UPDATE_CORE’ , true ) ;
- Lastly, tap ‘Save.’
4. Updating WordPress using cPanel
Those who don’t want to update their WordPress website automatically can go in with the manual method. It means upgrading WordPress using cPanel. Follow these steps to understand how to update the WordPress version from cPanel.
- Download the recent WP installation upgrade files. For it, visit WordPress.org and tap the ‘Download‘ tab.
- Save the file you’ve downloaded on the hard drive.
- Now extract or unzip the file that has updated WordPress files.
- Open the unzipped folder. After that, delete the folder of wp-content inside it. It will ensure that your theme or plugin isn’t overwritten during updating.
- After deleting the folder, compress it. Since you are uploading the folder contents via cPanel, use the compressed file.
- After you prepare the files for upgrade installation, sign in to the cPanel administration area.
- Choose ‘Files‘ followed by ‘File Manager.’
- Find the directory in your server that has your current WP installation in the ‘File Manager‘ section.
- Then, tap the ‘Upload‘ link.
- You’ll notice the screen of ‘Upload Files’ opening in another window.
- Tap the ‘Browse‘ button and find the folder where you’ve downloaded and changed the WordPress upgrade file.
- Choose the compressed upgrade installation file and hit ‘Open.’ It will commence uploading the file.
- You’ll find that the zip file is uploading to the server directory.
- After the file gets uploaded, exit the ‘Upload Files’ tab.
- After that, go to the ‘File Manager’ window.
- Now hit the ‘Reload’ option to refresh your screen. You’ll also find the newly uploaded upgrade installation file.
- Find and choose the uploaded zip file. It is by the name ‘wordpress.zip.’ after that, hit the ‘Extract’ menu button.
- A popup box will appear in the window. Let the settings remain as they are and click the ‘Extract File(s)‘ button. This will start the process of decompressing all the zipped files content.
- After the contents of the file get fully extracted, exit the ‘Extraction Results’ window.
- Find the folder having the extracted files. Its name will be the same as the zipped file.
- Double-tap the folder and launch it.
- Hit ‘Select All‘ to choose all the files within the extracted folder.
- Next, tap the button ‘Move File.’
- At the bottom of the ‘Move‘ box, you’ll notice the existing path where your extracted WordPress upgrade files are present. You will notice that they need to be moved only one level up from the folder into which they are extracted.
- To move the files one level up, delete the recent folder name from the path string.
- Then tap ‘Move File(s).’ Now tap up one level to go back to the directory having your WordPress installation files.
- Lastly, to see if your upgrade is successful, sign in to your WordPress admin area. You’ll be greeted by a message saying that a database update is needed. Hit the ‘Update WordPress Database button.
- You’ll be alerted of the successful update by a new message window. Tap ‘Continue.’ Now, your WordPress upgrade installation using cPanel is complete.
Final Thoughts
By now, you must be quite familiar with how to update WordPress. Choose any method from the ones listed in this article. Just ensure that you follow the instructions carefully. If you need more help in updating WP or get stuck at any point, contact WordPress support services. The experts will update your WordPress version and fix any issues that may arise in the process.
Tagged with: How to Update Wordpress Update WordPress-
On Time Delivery
- 50
Discount
-
24×7 WordPress Support
-
Cost Effective Services
-
Skills Wordpress Developers
-
100% Satisfaction